Creating a crypto account
Blockchain and cryptocurrency can be a little confusing for first timers. We will see in that guide how to install a wallet application, create an account and get some cryptocurrency on a test Ethereum network. This guide is aimed at people interested in cryptocurrency but with no or very little Ethereum experience.
Wallet and accounts
Definition
First it is important to know the difference between account and wallet as those terms are often used wrongly.
An account is basically an entity that:
- has an Ether balance
- can send transaction
Note that two types of accounts exist:
1) Externally-owned accounts (EOA): the accounts controlled by individuals using a private key. This is the accounts
2) Smart contracts: a piece of program running on the Ethereum network (not the point of this post).
A wallet is a program helping you to manage your accounts.
A common misconception is to think your wallet is holding your funds, although it is only managing your access credentials. If you want an analogy, instead of holding cash, your wallet is holding credit cards which allow you to access your accounts.
Installing a wallet
That being said, let’s start by installing a wallet. One is Metamask, a browser extension allowing you to easily interact with blockchain applications. It is frequently used due to its convenience. Go to the Metamask website and install the extension for your browser.
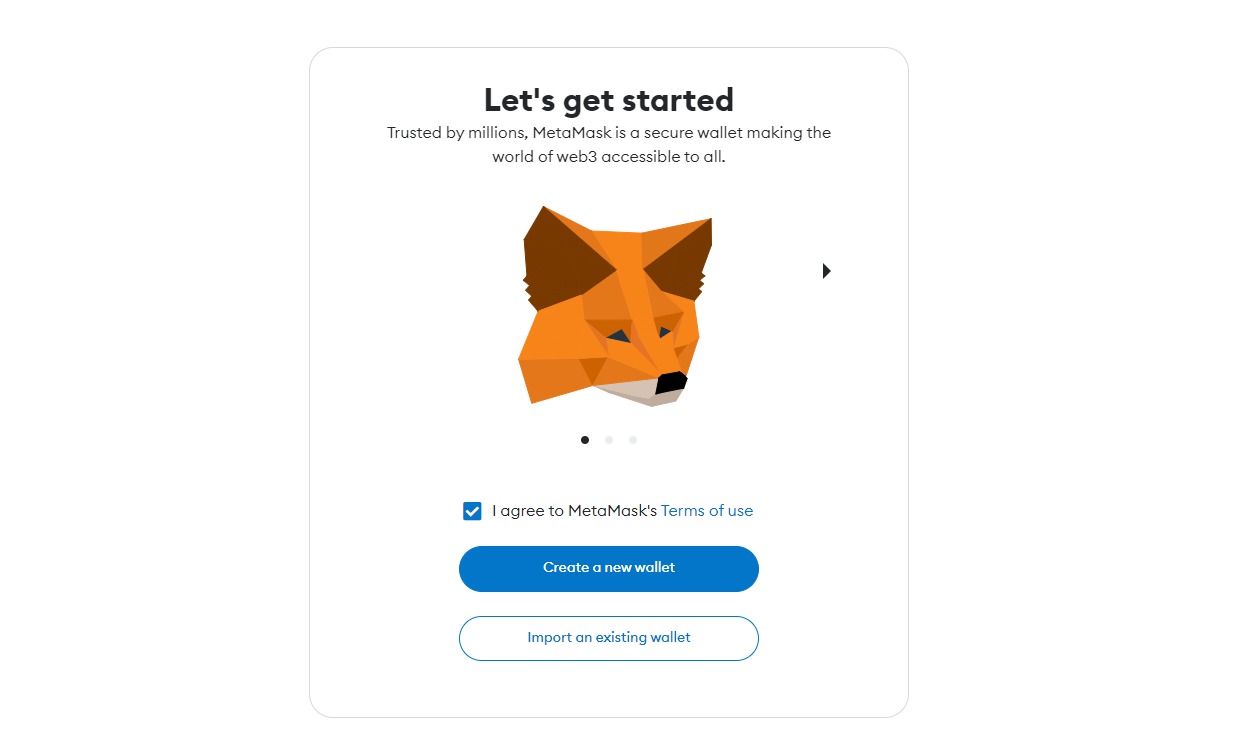
Choose “Create a new wallet” to create a new wallet and a new account.
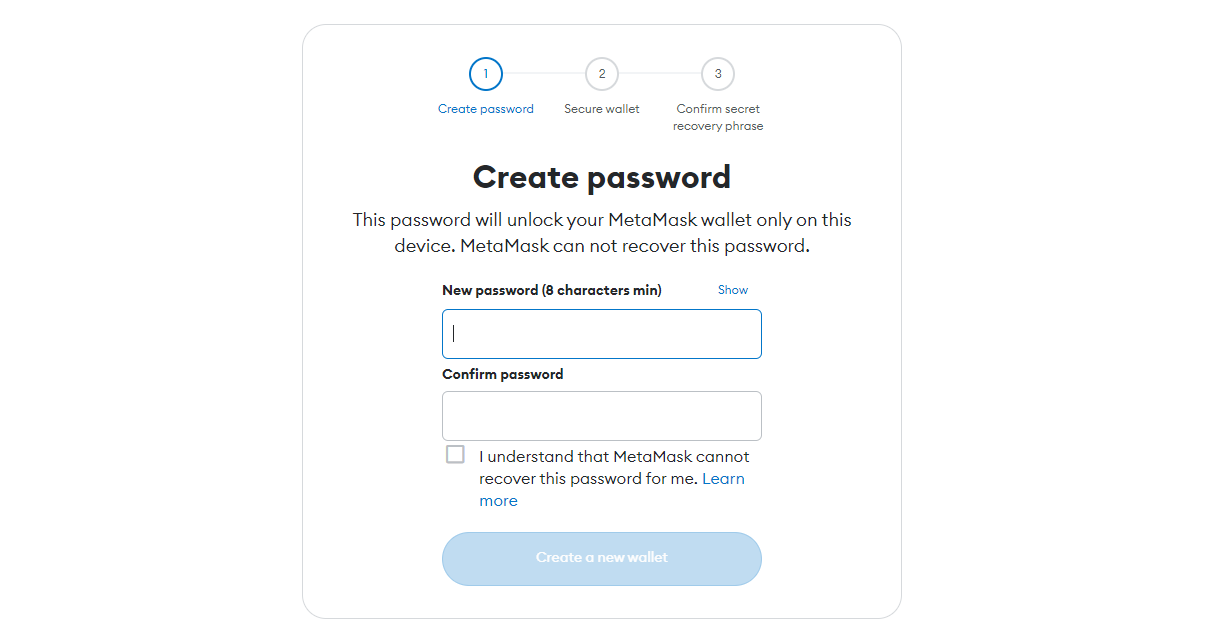
You can specify a password to limit access to the Metamask plugin. Enter a safe password and hit “create a new wallet”.
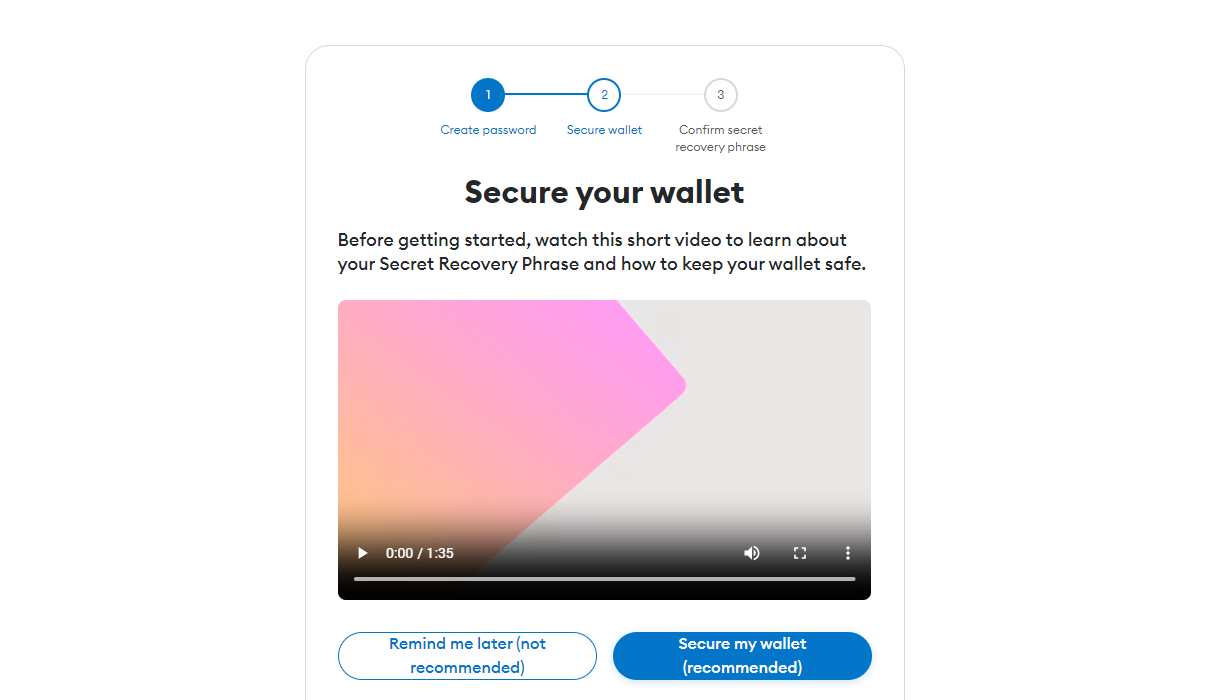
When asked for, click on “Secure my wallet”.
Seed phrase
The most important part is to properly secure your account by keeping the 12 words seed phrase. This is the key to your account. Be careful: If you lose it there will be no way to recreate it. If someone steals it, they will have total access to your account.
It is recommended to write the seed phrase on a piece of paper and store it securely somewhere (e.g. in a vault). Do not store it on a computer and never share it.

Wallet panel
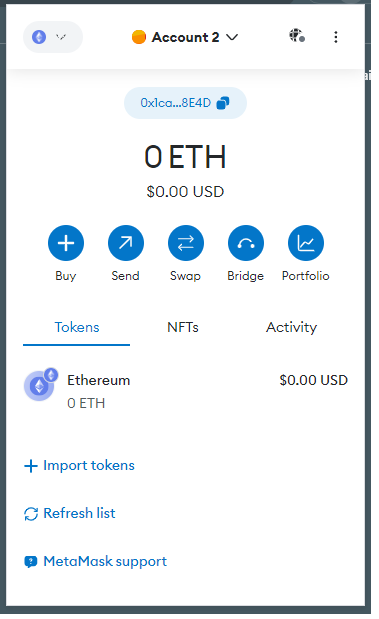
Once your wallet is created, you can display it by clicking on the Metamask icon (the fox) in your toolbar.
It should display your “Account 1” with a balance of 0 ETH. Note at the top your account address (starting with 0x). This can be publicly shared and will be used to receive ETH transfers for example.

Congratulations! You now have a crypto account!
Accounts management
Now that we have a wallet, let’s try to manipulate accounts and understand networks.
Create a new account
It is generally recommended to use different accounts for different usages. This also increases anonymity on the blockchain (remember that all transactions are public). To create a new account from Metamask, simply click on the drop-down list (containing only “Account 1” for now) and select “Add account”. Enter the name of your new account and create it. You should see Metamask displaying the status of your “Account 2” (or whatever name you chose). Note that the address of this new account is different from the address of “Account 1”.
Networks
You probably noticed another drop-down list at the top-left of the window. This allows you to select the Ethereum network to use. Right now it is displaying the status of you account on the Ethereum Mainnet network (the “real” Ethereum network). Switch on test networks to show available test networks. Those are public networks but used only for various testing purposes. Their behavior is entirely similar to Mainnet. But unlike Mainnet Ether, the Ether on these test networks has no value!
(read more about networks on the official doc)
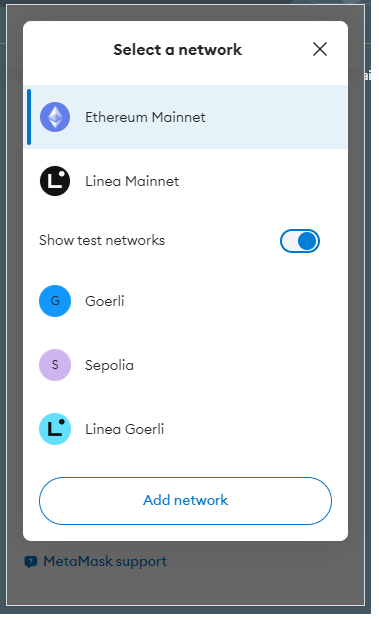
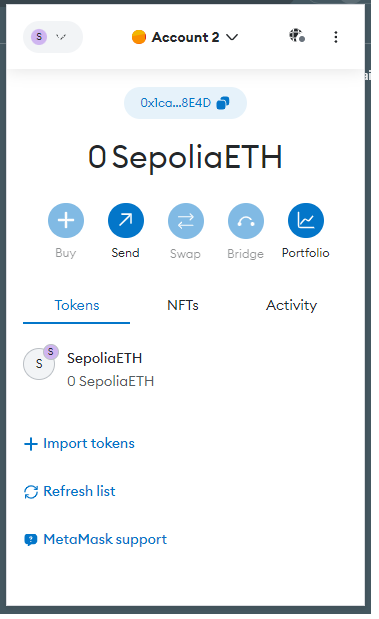
To see it in practice, click on the Sepolia network. If you still have your “Account 2” selected, it will display its balance on this test network. To avoid confusion, the balance is denominated in SepoliaETH (instead of ETH on Mainnet).
Transactions
You saw how to create accounts and switch between accounts and networks, but all your accounts are still depressingly empty. Let’s see how to get test ETH to create your first transaction.
Getting ETH
To get real Ether (i.e. ETH, on Mainnet), you will have to buy it on an exchange, or have someone send it to you. Fortunately it is possible to get test ETH (e.g. SepoliaETH) for free from various places. We call faucet a system allowing you to get free test cryptocurrency. You can find several of those faucets online, I sometimes use this one (this does not constitute an endorsement). Copy you “Account 2” address and try to get some SepoliaETH from a faucet.
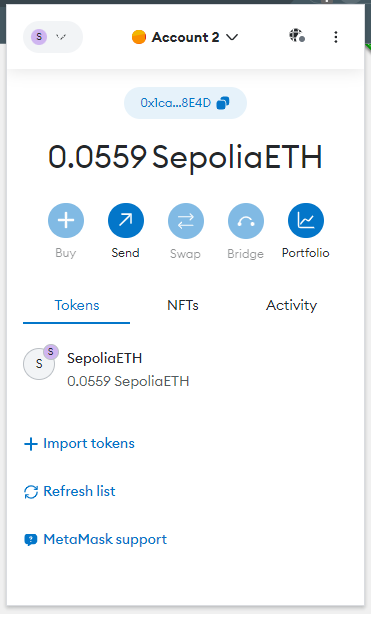
After the transfer is complete, you should get some SepoliaETH on your account. Note however that if you switch to Mainnet, your account balance is still 0 ETH.
Creating a transaction
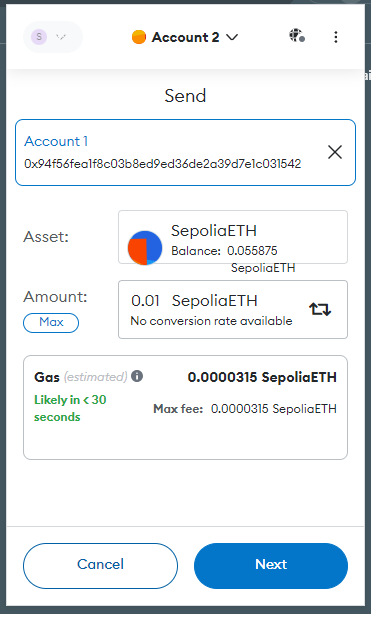
Let’s create our first transaction: we will transfer some SepoliaETH between our own accounts. Click “Send” then “Account 1” as a destination. Chose a small amount (e.g. 0.01) and send it to your first account. Look at the gas estimation (in my case 0.0000315 SepoliaETH): this is the cost associated with the transaction. Without entering into the details of why this cost is required, let’s say it is the fee to pay for issuing a transaction on the network.
Confirm the transaction and wait for the transaction to be confirmed. Your transaction has to be included in a block to be considered valid, therefore you have to wait for at least a block to be mined before seeing your transaction as valid (assuming your transaction will be included in the next block).
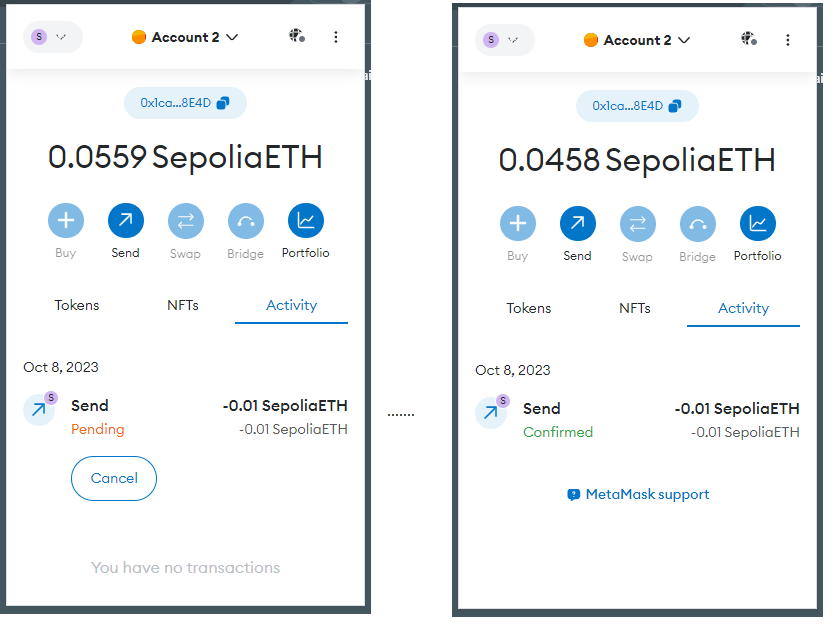
Once the transaction is confirmed, switch back to your first account. You should see a balance of 0.01 SepoliaETH. Congratulations, you executed your first transaction on the (test) Ethereum network!
Tracking transactions
All transactions on the Ethereum network are anonymous, but public. The Etherscan website allows to check transactions happening on the network. Here is my transaction registered:

Try to find your transaction using the search field with your source or destination account.
Conclusion
We have seen how to install Metamask, a crypto wallet. Then we created several accounts within this wallet. We got some test Ethereum for the Sepolia network, and we created a transaction to exchange this cryptocurrency between our accounts.
comments powered by Disqus